Juul is an e-cigarette that quickly blew up and became one of the hottest trending products on the market for adults. Like all devices, it needs to be charged to enjoy continuous use. however, if you misplaced your Juul charger, there is a way to get the device charged.
Here, you will learn how to make a makeshift charger and get your Juul device charging.
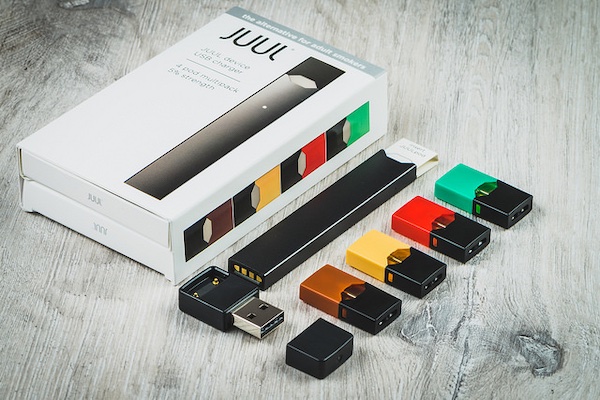
How to Charge Your Juul without a Charger
If you’re not able to get a replacement charger very quickly, you can try making your own Juul charger. The steps to doing this are pretty simple, so anyone should be able to follow them.
Step 1: Find a Cord or Cable with a USB Plug on One of its Ends
The first step to making a makeshift charger is to get a cable or cord with a USB plug. You should be able to get one easily by picking up a spare Android charger, a smartphone connector, or any kind of cable with one end with a USB plug.
Step 2: Cut the Other End of the Cable and Retain the USB Plug
Once you have cord or cable with a USB plug, you will need to get a cutter or some cutting device. Use the cutter or the pair of scissors to cut off the other end of the cord. While doing this, you should ensure to retain an end with the USB plug because it will be your power input.
If you’re using an Android charger, you only need to cut off the end that connects to the gadget. However, if you opted for a power bank charger, you can cut off any of its ends since it has USB plugs on both ends.
Step 3: Expose the Wires of the Cord on the End that You Cut
Once you’re done cutting one end of the cord or cable, the next step would be to expose the wires on that end of the cable. To do this, you will need a blade or you can still make use of the pair of scissor. Use the tool to gently and carefully shave the insulator of the cord slowly but surely until the wires within are exposed.
To get the best results, you need to expose at least two inches of the wires to make it easier for you to identify the right ones. This will determine if you can actually use the cord to charge your Juul.
Step 4: Untangle the Wires and Identify the Two Wires Needed for Charging
After you’ve exposed the wires, the next thing to do will be to find the four color-coded wires that are twisted in pairs. You need to carefully untangle the two pairs of twisted wires that will prepare you for the next step.
These wires come in different colors. They are usually black, red, white, and green. In other cases, the cord might use a silver wire instead of the black one. Regardless of the number of wires, you will only need the red one and the black one or, in some cases, the silver one.
Step 5: Free Up the Two Essential Wires that Will be Responsible for Charging
Once you have untangled the two pairs of twisted wires to separate them from each other. You will need to identify the two wires that are needed for the charger to work.
The next step would be to free them up by folding the unnecessary wires (which would be green and white) against the chord. After that, you would have to secure them in place by using electrical tape. This could be quite hazardous, so to ensure safety, you have to make sure that you cover the ends of those wires with electrical tape.
Step 6: Exposing a Bit of Edge of the Wires Responsible for Charging
With that step completed, you should have freed up the charging wires (which is the red and black/silver), and secured the other two with electric tape.
You will need the cutter to shave off the plastic insulators of those two small wires. You can also use a a blade or a pair of scissors. When using the blade to shave off the plastic insulators, you only need to expose a bit of the two wires, between a quarter or half an inch.
Step 7: Twist the Metal Filaments to Avoid Them from being Scattered
With the plastic insulator cleared off the wires responsible for charging (red, black/silver), the next step is crucial. You have to do is to twist the small metal filaments within the wires.
This action is to make sure that they won’t scatter around when used in charging the device. Also, twisting them will keep the small strands from breaking. This creates a much solid contact point for charging and boosts the charging speed.
Step 8: Test if Your Makeshift Charger Works
If you’re able to reach this point, you are done crafting your DIY makeshift Juul charger, and all you have to do is to try it and see if it works.
To test if your makeshift charger works, take your Juul device and place it on a flat surface with its light facing upward. Now, you need to take the red and black/silver small wires of the charger you made and then insert them in the device’s golden slots. You can find the golden slots at the bottom.
Note: while using this makeshift charger, you should avoid the two innermost golden slots. You only need to connect the wires of the charger with the leftmost and rightmost golden slots of the device. When done, you need to check and confirm that you have a secure connection. Finally, plug the end of the charger with the USB plug on a USB charging port.
When the charger is connected to a power source, ensure that you check the light of the device is flashing to confirm that it is charging.
With that done, you’ve made your own Juul charger and can enjoy charging your device during emergencies. Keep in mind that this is an emergency charger and should only be used in times of utmost need as it can be dangerous.


