Losing your Nintendo DS or DSL charger doesn’t mean you won’t have to play your games until you get a new one. You can actually get a different charger to charge your Nintendo console for the meantime.
In this guide, we will show you the simple steps to charging your Nintendo DS or DSL without a charger.
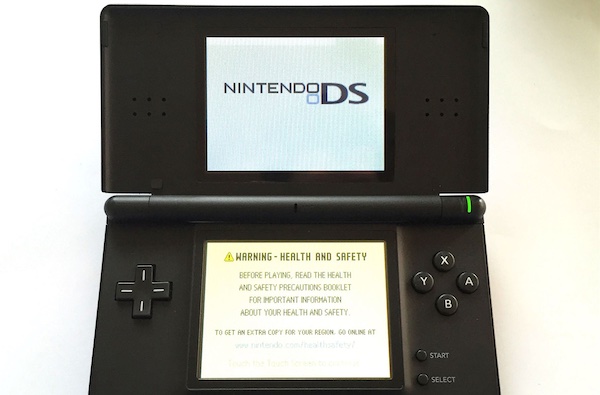
How to Charge A Nintendo DS or DSL Without A Charger
Charging the Nintendo DS or DSL without a charger involves using you can use USB cable. Check the steps below to do so.
Step 1
Find the right USB charger. To choose the right USB charger, you can use the Nintendo DS or DSL charging port as a guide. Inspecting the port, accordingly find the USB cable.
Step 2
Once you have the right USB charger. You need to connect USB cable to the phone charger. Ensure that the connection is properly secure so you will get proper charging.
Insert the other end of the USB cable into the charging port of the Nintendo DS or DSL. Hold the USB cable tight and press lightly. This will ensure the connection is secured.
Step 3
The next thing would be to plug the other part of the USB cable into any electric outlet. You can easily use a computer for the same purpose. Or, you could use a power bank. All these power sources will deliver the same result. It would take up to four hours for the Nintendo DS or DSL to charge completely.
When the battery is fully charged, you need to notice the indicator light on the console. Checking that, you can know the charging status.
How Long Does it Take to Charge the Battery?
Nintendo DS
The Nintendo DS battery requires four hours of charging. There is an indicator light to tell you when it is fully charged. You will notice that the amber charging light shuts off when the Nintendo DS is fully charger. While charging, it is okay to continue to play the Nintendo DS, though the unit will take longer to charge.
Nintendo DS Lite
The Nintendo DS Lite battery requires three hours of charging. There is an indicator light to tell you when it is fully charged. You will notice that the amber charging light shuts off when the Nintendo DS is fully charger. While charging, it is okay to continue to play the Nintendo DS, though the unit will take longer to charge.
Nintendo DS Lite Troubleshooting
DS Lite does not turn on
Broken power switch: Ensure that the power switch is in working order and not damaged in any way. If the system turns on, the power LED should light up green or red depending on how much charge the battery has. If the switch is damaged then you will have to replace it.
AC adapter issues: Avoid using any adapter other than the appropriate AC adapter to charge your DS Lite. When plugging the AC adapter into the console, check that the orange light on the top right of the device is lit. If this light does not come on when you plug in the AC adapter, it could mean that your AC adapter might be faulty and would have to be replaced. If the light does come on then the battery could be defective may need to be replaced.
Battery issues: Avoid using any adapter other than the appropriate AC adapter to charge your DS Lite. If your DS Lite has had 500 or more charge cycles, the battery would only be able to hold only 70% of its capacity. This is a common issue with all rechargeable batteries as they get used over the years. Replacing the battery will solve this problem. If the same problem persists with a new battery, there may be problems with Nintendo DSL or specifically the logic board.
Logic board issues: If your console still has problems after replacing the AC adapter, battery, and power switch, then your logic board needs to be replaced as well.
Problems with the display
Touch screen turns off during game play: If you are playing a games like a Game Boy Advance game on your DS Lite, the touch screen will turn off as the Advance games do not require the use the touch screen input. However, if you are playing a DS Game that does use the touch screen input and it doesn’t work, then there may be an issue with the screen that requires replacing it.
Touch screen doesn’t respond properly: Ensure that you are using the DS Lite stylus. You might need to clean the screen. To clean the touch screen, slightly dampen a lint free cloth with just water and wipe off the screens. This should loosen any dirt or debris. After that, using a dry cloth, and wipe the screens to dry them. If necessary, repeat the cleaning process to get rid of any dirt. If this doesn’t solve the problem, you will have to recalibrate the touch screen by selecting settings from the main menu. If the issue still persists, then it might need to be replaced.
Problems with sound
No Sound From The Headphone Jack
If you notice there is no sound coming from the headphone jack, you should first make sure that the headphones are plugged in fully. However, if it still doesn’t work, then you can test another pair of headphones to see if it solves the problem. If you only hear sound from one side of your headphones, or no sound at all, then the faulty might be coming from the headphone jack. This could be mean it is broken and the logic board needs to be replaced.
Problems with the buttons
Buttons Do Not Respond
If you’ve having issues with the buttons or the buttons on your unit do not respond, you need to make sure to remove any excess dirt and grime that could have accumulated on the buttons. However, if the issue still persists, then the buttons would have be replaced. If the problem is not solved after the buttons are replaced, then the problem could be with the logic board. You might have to replace it.
